Setting Up WordPress
Now that you’ve signed up for Dreamhost, you have your domain, and now it’s time to actually install WordPress and get your blog running.
This is the step that sounds the most technical and is actually the easiest. Dreamhost walks you through the whole thing with a simple wizard and WordPress is installed in just a few minutes.
How to Install WordPress
In the last post you signed up for Dreamhost. Now, check your email.
There you’ll have an order confirmation from Dreamhost with your account login details.
Click the link there and head to Dreamhost.com and log in.
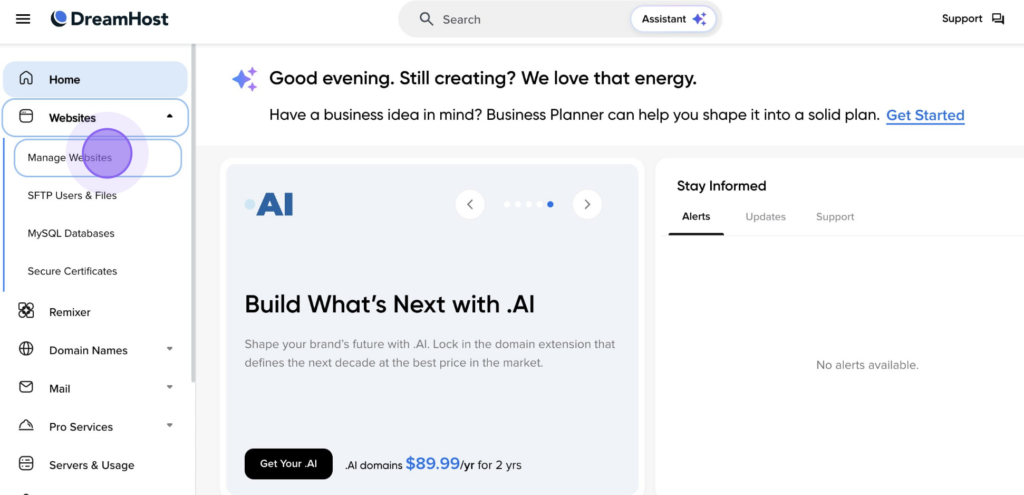
Once you’re in click on Websites in the left menu, then Manage Websites.
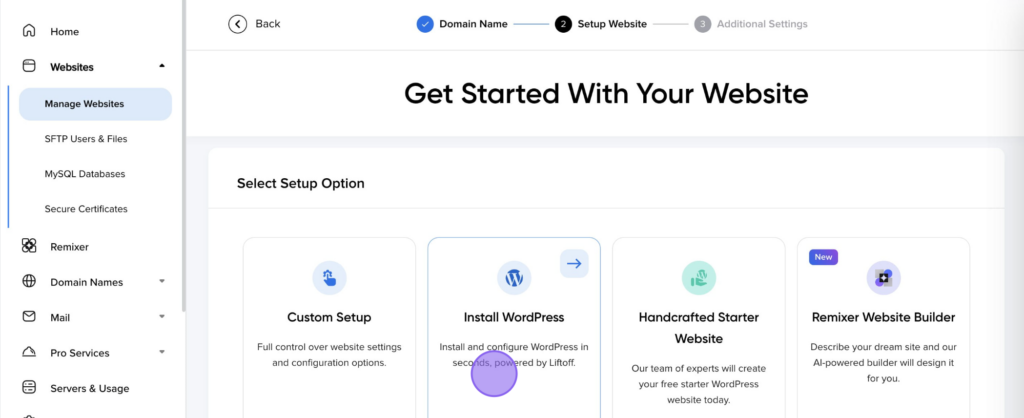
Click the blue Add Website button and Dreamhost will launch a simple wizard that walks you through everything to setup your site and install WordPress.

Follow the prompts and WordPress will be installed on your domain in just a few minutes. This is the “one click install” and it’s super easy!
Once the install is complete your blog is officially live on the internet. And you are ready to login and start designing.
Your Blog Is Live
WordPress is installed, your blog has a name, and your URLs are set up correctly. That’s a lot done in a short amount of time.
Right now your blog is live but it doesn’t have a design yet. That’s exactly what we’re covering in the next post.
Getting Into WordPress
There are two ways to get into your WordPress dashboard.
The easiest way right now is straight through Dreamhost.
Log into Dreamhost.com, click Websites on the left, find your website, and you’ll see an option to go directly into WordPress from there. One click and you’re in.
The other way, and one worth bookmarking for the future, is going directly to yourdomain.com/wp-admin.
Type that into your browser, enter your username and password and you’re in.
Save this link somewhere easy because you’ll use it every time you log in going forward.
Your WordPress Dashboard
The first time you see the WordPress dashboard it can feel like a lot.
Don’t worry about understanding everything right now.
We’re just going to take care of two quick things to get you setup.
Add Your Blog Name
On the left menu go to Settings and then click General.
You’ll see a field at the top that says Site Title.
Type your blog name in there.
You can also add a tagline, something short that describes what your blog is about, but that’s completely optional for now.
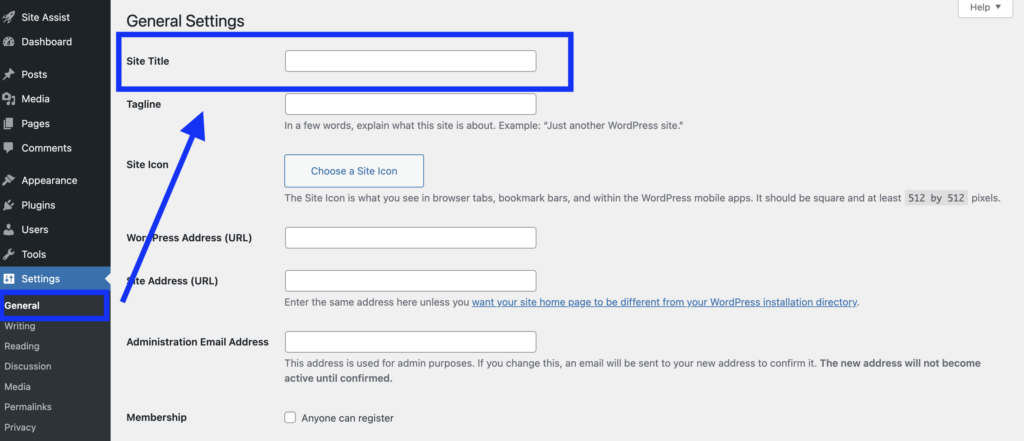
Hit Save Changes at the bottom and that’s it.
Your blog officially has your name on it.
Check Your Permalinks
Still in Settings, click on Permalinks. This controls how your blog post URLs look.
If you signed up through Dreamhost this is likely already set to Post name which is exactly what you want.
It means your URLs will look like yourdomain.com/blog-post-title instead of something messy with numbers and symbols.
If you didn’t signup with Dreamhost be sure to check that your setting is correct. This is a big pain to change later.
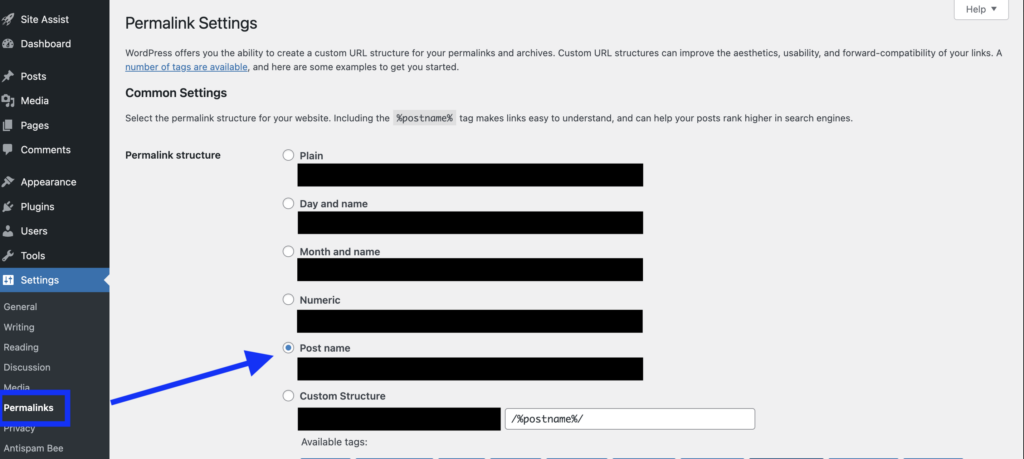
If it’s already on Post name just leave it and move on.
If it’s not, select Post name and hit Save Changes. That’s really all you need to do right now.
WordPress is Installed and Setup
Two settings, two minutes. That’s it!
Your blog is live, it has your name on it, and it’s set up correctly from the start.
The rest of the dashboard, posts, pages, plugins, all of it, we’ll get into as we need it.
What’s Next?
Right now your blog works but it doesn’t look like anything yet.
In the next post we’re going to install your WordPress theme and give your blog an actual design.
It’s one of the most fun parts of the whole process and I’ll walk you through it step by step.
Drop a comment below and let me know you made it in!